99% of us take photos using our phones.
Capturing life has never been easier, faster and more beautiful than it is at this moment.
The iPhone camera, in particular, has always delivered outstanding image quality that just gets better with every new release. Its capabilities are pretty amazing to the point that professionals often opt for their phone camera because the results are just that good.
As much as we use our iPhone cameras, there are settings that get overlooked and ways of doing things you may not know about even to the seasoned Apple user.
We’ve rounded up some must-have iPhone photography tips that everyone should know. Tips that will up your photo game and give you better results, maybe change the way you take a selfie or just to know what that button is really all about.
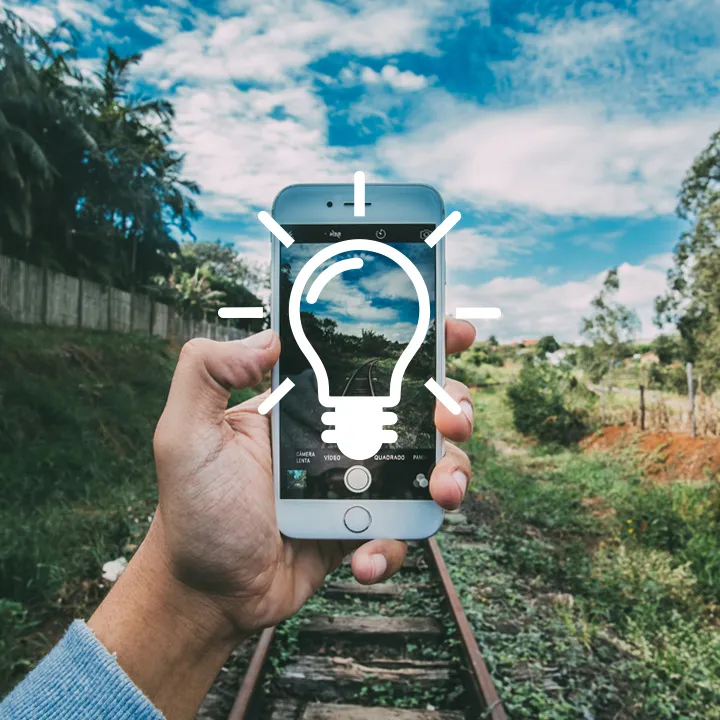
Ditch The Flash

The built-in flash has its time and place, but often it isn’t needed.
For the most part, keeping your flash off will serve you better than keeping it on. An iPhone camera flash is a quick way to ruin a photo when you are shooting at a distance, or when you’re taking pictures through glass or of glass or anything with a screen. It will wash out your friend’s faces and create harsh shadows when you don’t want them. Shall I go on?
How to (not) do it:
- Launch the Camera app
- Tap the lightning bolt icon on the top left of your screen, and tap ‘Off’
Tap To Focus

As smart as the iPhone camera is it sometimes needs a hand identifying the focal point of your image.
You may want it one place and it thinks it should be another. The little yellow square tells you where it is focusing. You can move it around and really alter the photograph this way.
How to do it:
- Launch the Camera app
- Tap where you want to focus and the yellow box will follow
- You can lock the focus by using a long tap
Shutter Release Options
There are 4 ways to release the iPhone camera shutter. Do you know them?
How to do it:
- The most obvious is the shutter button in the camera app. This is fine in a lot of cases but sometimes it’s an awkward reach to tap and if you have gloves on forget about it using this method.
- In the number two spot are the phone volume controls. These buttons on the side of your phone can be used to trigger the shutter when the camera is open.
- Apple EarPods. If you have your pods on the volume buttons there will also act as a convenient shutter release.
- Set the self-timer! For more on that keep reading.
Rule Of Thirds

In the visual arts world, the Rule of Thirds is a well-known trick.
By breaking up your layout into thirds or using the iPhone grid to help you set up your composition you avoid boring photos where there is one subject in the dead center of the image. It is believed that observing the proportions and aligning your main focus, horizon, and background using thirds creates more tension, energy, and interest than centering everything down the middle.
How to do it:
- Tap your phone Settings
- Scroll down to find your Camera Icon and tap it
- Toggle ‘Grid’ On
- Launch Camera app
Panorama Mode

When you are on the road you get to see some pretty incredible landscapes.
How often do you look at a picture afterward and say ‘…this photo really doesn’t capture how amazing the view was…’. Help bring back the feeling of being immersed in an environment by using the pano feature. It works by stitching a lot of separate photos into a single image. Traditionally these are long horizontal shots, but you can also make long skinny vertical panoramic images too.
How to do it:
- Launch the Camera app
- Swipe left above the shutter button to select ‘PANO’
- Tap the shutter button, then move your phone straight across you horizontally or vertically to record the view
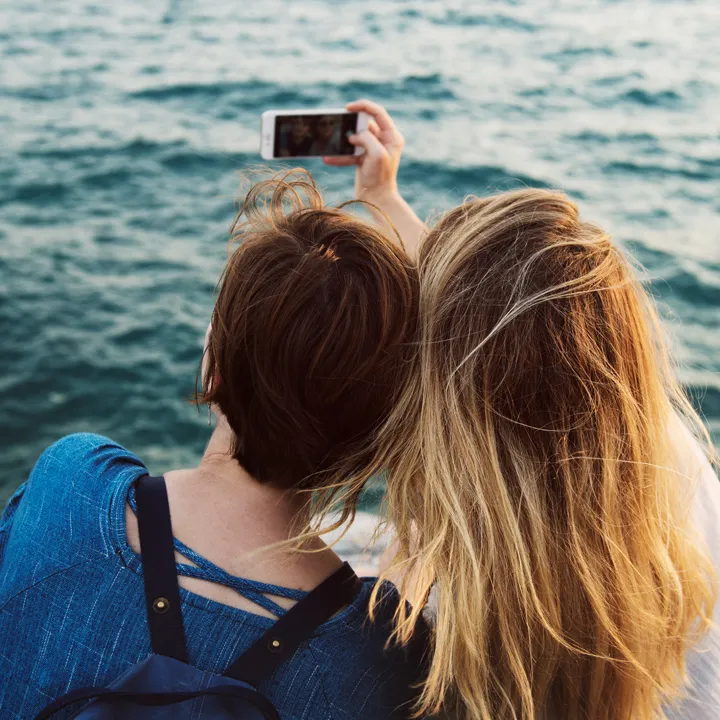
Camera Self-Timer

The self-timer is underrated.
It is one of the most underused features and it really can come in handy for not only group pics that you also want to be in but it can also step up your selfie photos. Instead of awkwardly taking a group or single handheld selfie that does nobody any favors – use the timer instead!
How to do it:
- Launch the Camera app.
- Frame your shot, prop up your phone somewhere steady (third party gadgets are useful here)
- Tap the timer icon at the top of your screen, and choose 3, or 10-second delay before it goes off
- Tap shutter button, as usual, you’ll get an audio and visual cue to your countdown, now strike a pose!
Camera Shortcut
‘Agh missed it!’
Never say this again. There is nothing worse than seeing an amazing yet quickly passing photo opportunity and missing the shot by being too slow on the draw. Instead of fumbling to open your camera quick enough to snap a pic know the iPhone camera shortcut and use it!
How to do it:
- From your lock screen, swipe left to quickly launch the camera
Know When To Use HDR
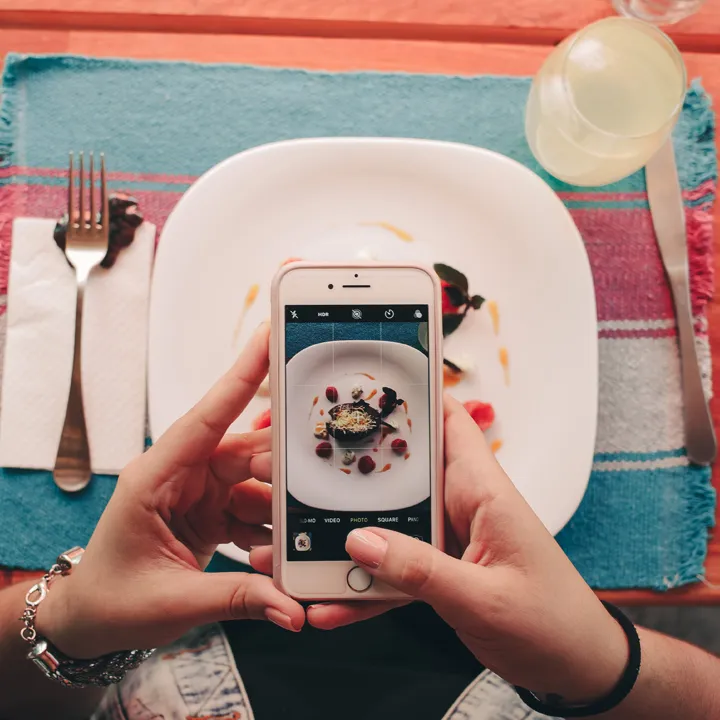
High Dynamic Range is a powerful setting when used correctly.
HDR captures a series of images with different exposures from light to dark then combines the best parts into one image giving you a really beautiful high contrast effect.
It allows a greater range of color and contrast in an image. But the tradeoff is it take slightly longer to process so if your taking action shots skip it. Use it instead when you want to remember a stunning landscape or a delicious meal. Here are a few more guidelines to keep in mind:
USE HDR
- For close-ups and outdoor portraits
- In dim lighting without flash
DON’T USE HDR
- For actions shots or if you or your subject is moving
- When there is a lot of contrast in your shot
How to do it:
- Launch the Camera app.
- Tap ‘HDR’ from the top of your screen, and tap ‘ON’
Have Fun With Filters

Filters are magical.
Nothing transforms an image quicker than a filter. It can take a photo from ‘meh’ to ‘marvellous’ in no time.
There are many third-party apps that offer a range of different effects, but your native camera app already has built-in filters you can use for free. Choose one before or after your shoot, because you can revert to the original after the fact or add a filter to a photo post-snap.
How to:
Choose a filter before you shoot:
- Launch the Camera app.
- Tap the color filter icon (the three overlapping dots) at the top of the screen
- Choose your filter
- Shoot some photos!
Add a filter to an image you’ve already taken:
- Tap the photo you want to filter
- Tap ‘Edit’ at bottom of screen
- Tap the color filter icon at the bottom (the three overlapping dots)
- Apply filter and tap ‘Done’
Remove the filter (before or after):
- Tap the photo with the filter you want to remove
- Tap ‘Edit’ at bottom of screen
- Tap ‘Revert’, ‘Revert to Original’
Get Close To Your Subject

Fact: your iPhone camera can’t actually zoom.
Yep, it’s true. Your iPhone camera can’t actually zoom in like a camera with moving parts can. It is tempting to digitally zoom in to get the shot you want instead of physically getting closer to it, but just because you can, doesn’t mean you should.
What actually happens when you scale in with the zoom is it just blows up the image resulting in a lower resolution photo. For a far superior pic get as close as you can towards what you want to capture, and if you just can’t get in the range you need don’t touch the zoom! Take the photo and crop and edit afterward.
How to do it:
- Launch the Camera app.
- Walk, drive, bike, swim, transport yourself somehow closer to your subject.
Keep Your Lens Clean

This seems like a no-brainer but you’d be surprised how this small tip can improve the quality of your photos.
Your iPhone takes a lot of abuse. It is shoved into pockets and bags, subject to fingerprints, dust, and debris from all over the place.
Take the two seconds and give it a wipe with a microfibre cloth (like the ones you use for glasses) or a handy gadget like a LensPen so you don’t risk blurry smudges messing with your iPhone photography!
Snap Happy
Don’t expect your first shot to be the winner.
The more you have to choose from the more likely you will find one that is really special. It seems obvious to take more than one when you dealing with moving subjects, but make it a part of your regular photo taking routine no matter what the situation.
Burst mode is a great way to quickly fire off a batch of images that you can scroll through afterward and choose from. A definite must for action shots.
And if your taking multiples manually, experiment! Changing up the settings, lighting, distances, and compositions will pay off.
How to use the burst mode feature:
- Launch the Camera app.
- Hold down the shutter button to take a burst of shots
- Select your favorite from the bunch in your gallery
We hope you learned a thing or two!
We can’t wait to see (and read) your amazing adventures on Journo. And if you have some iPhone photography tips we need to include in this line up let us know with a comment below!


2 Responses
This fabulous detailed information on using the iPhone camera is absolutely fantastic!… I have learned so much just reading the tips and can hardly wait to use them all!!
Great to hear! If you learn any others in the process please keep us posted!